Toon Tool

I drew up this concept inspired by the guns on the inspirations post:
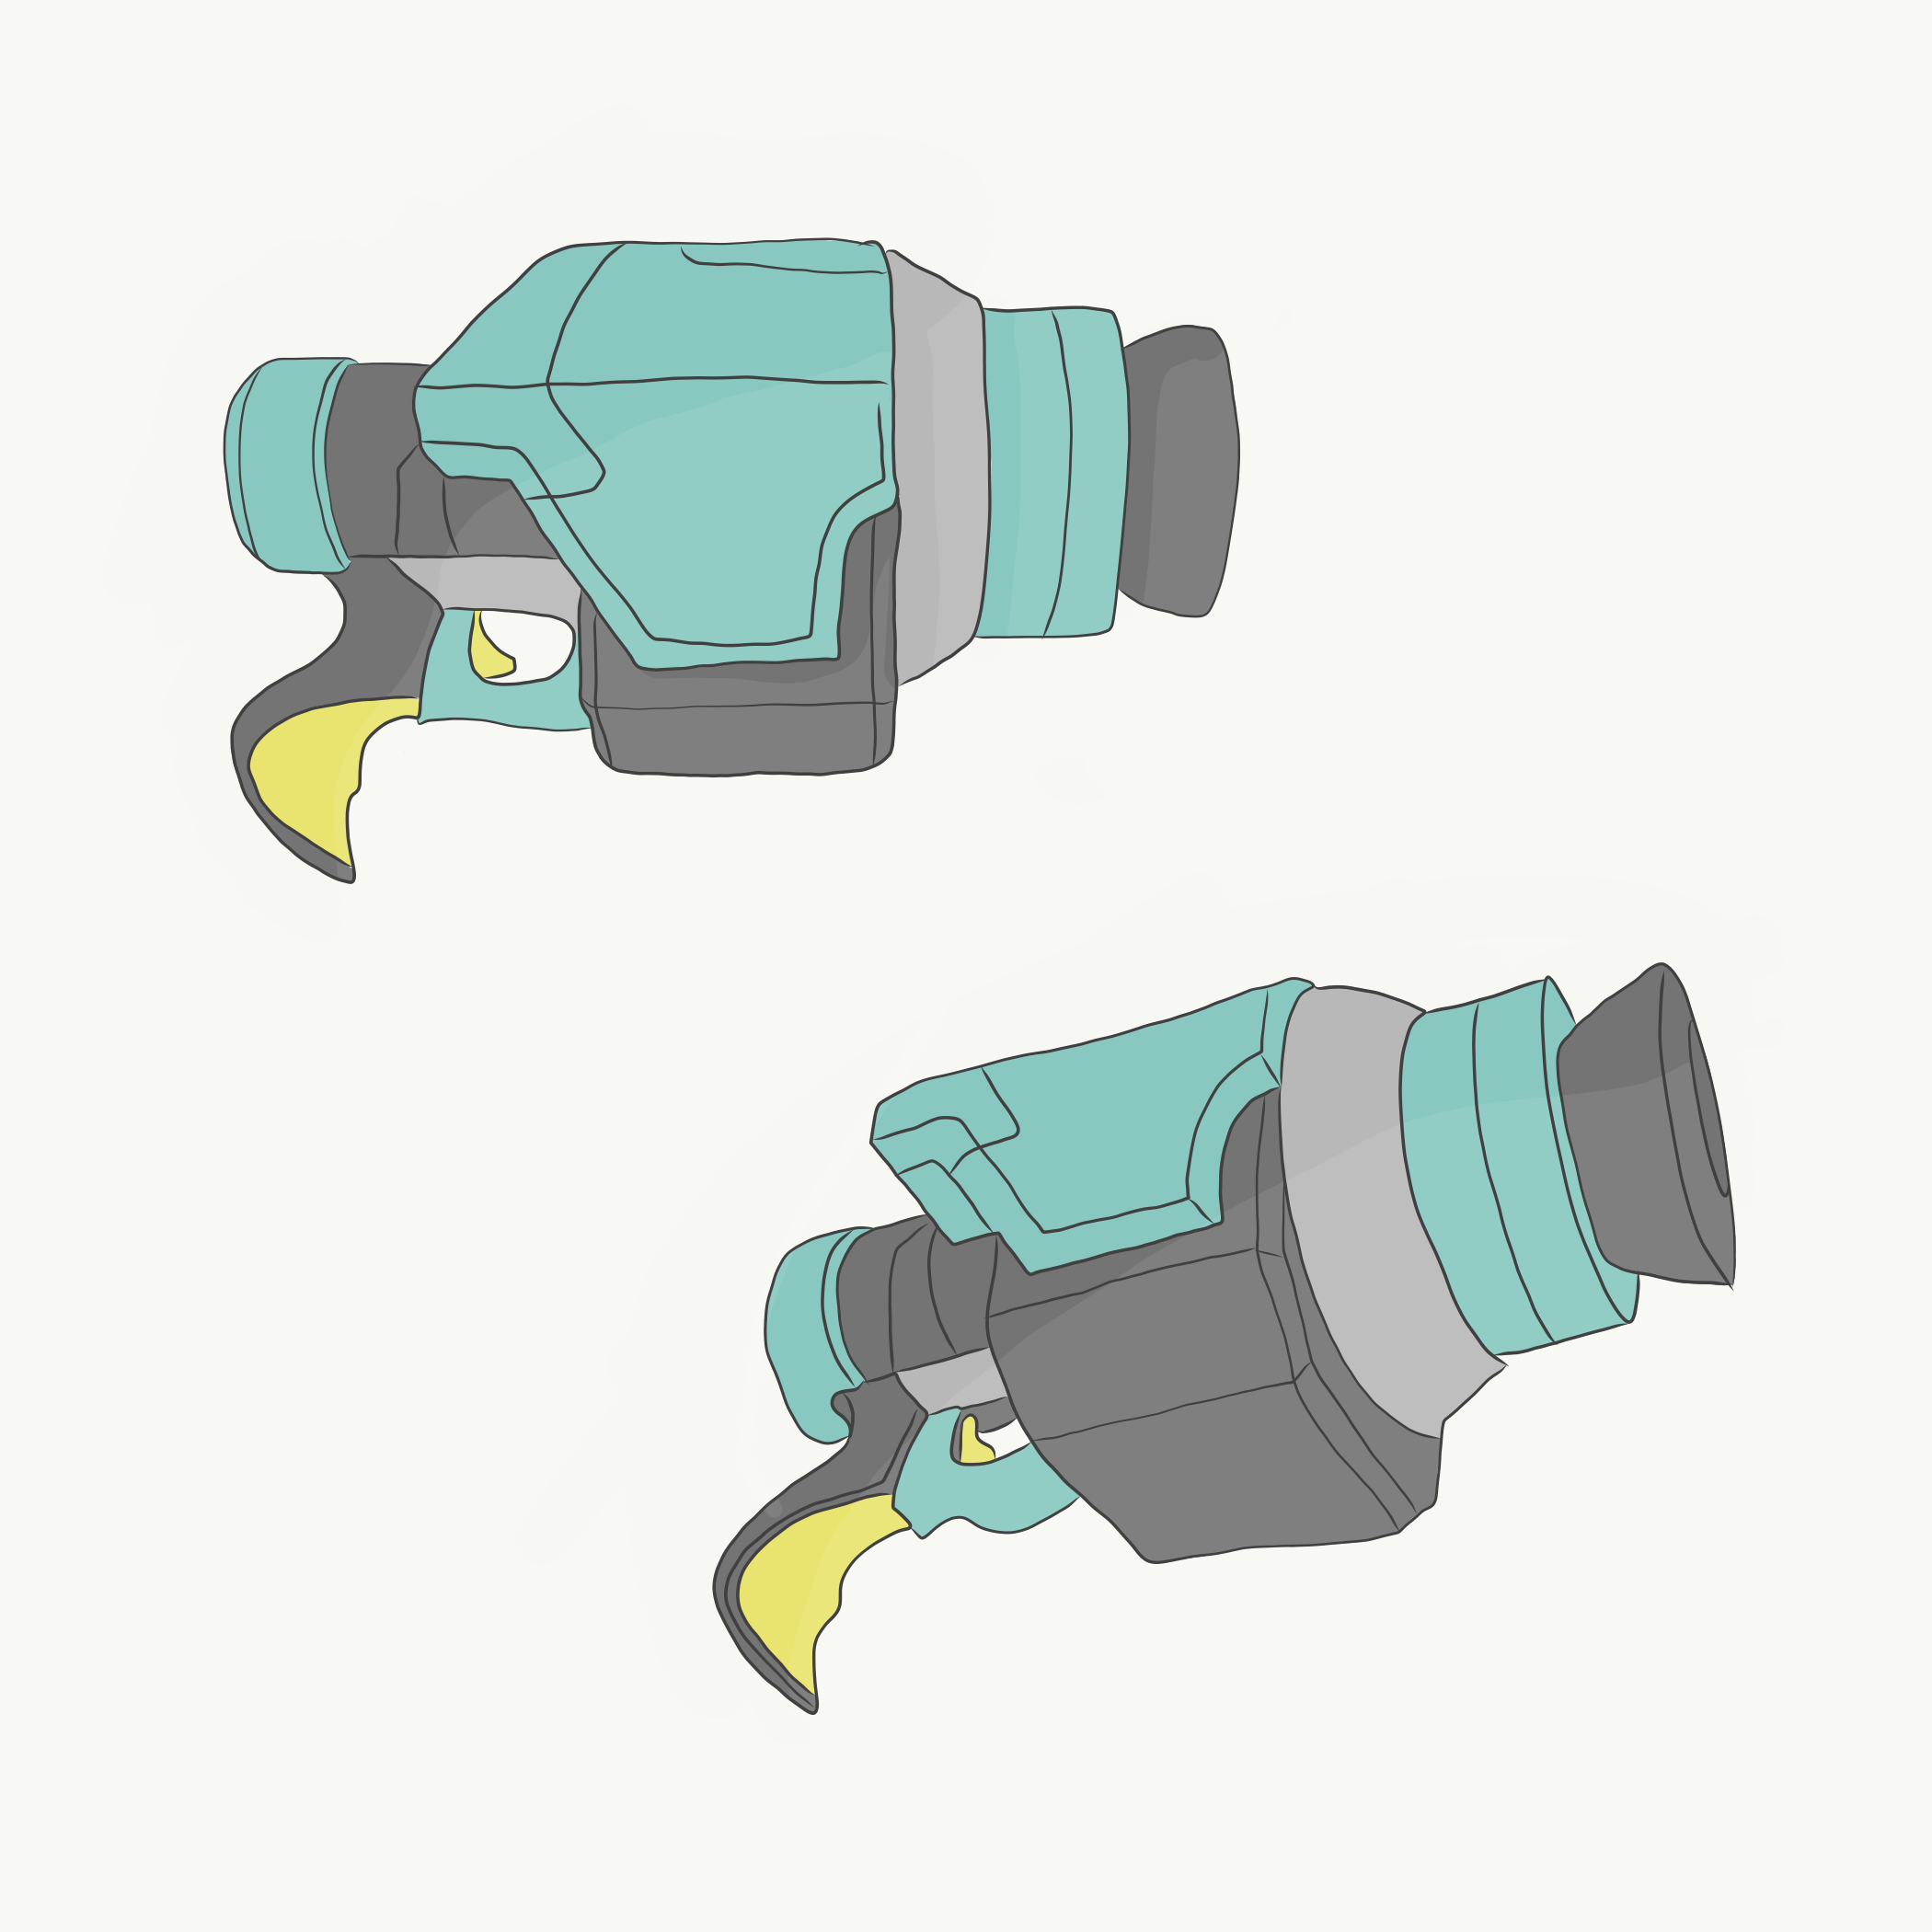
What is it for?

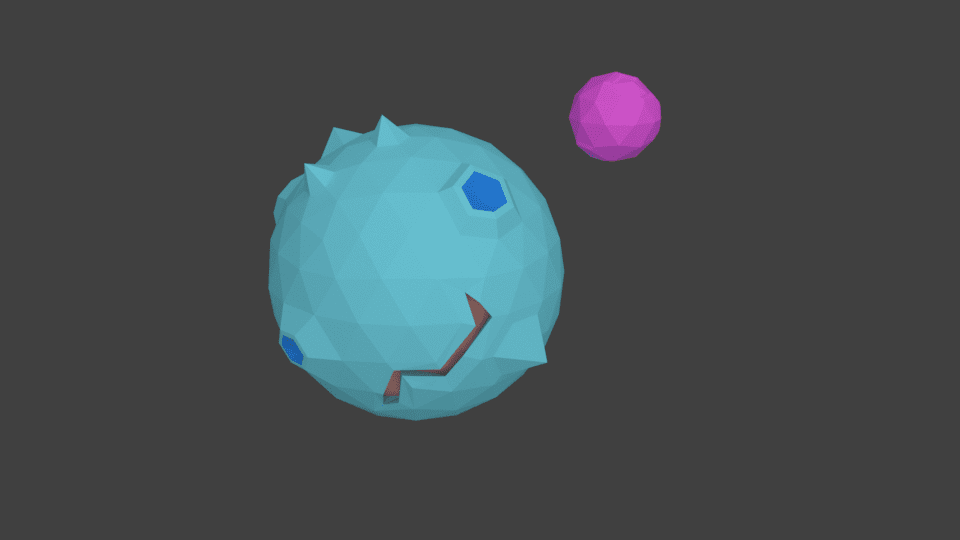
This would be a basic tool used in the game Take Two. With this tool/gun, the user can pick up objects on their new planet, scale and rotate them.

As well as this tool there would be many more that the user can use to for example, add different colours or elements to their planet.

I took that on blender used it as a background image and simplified it (a lot).

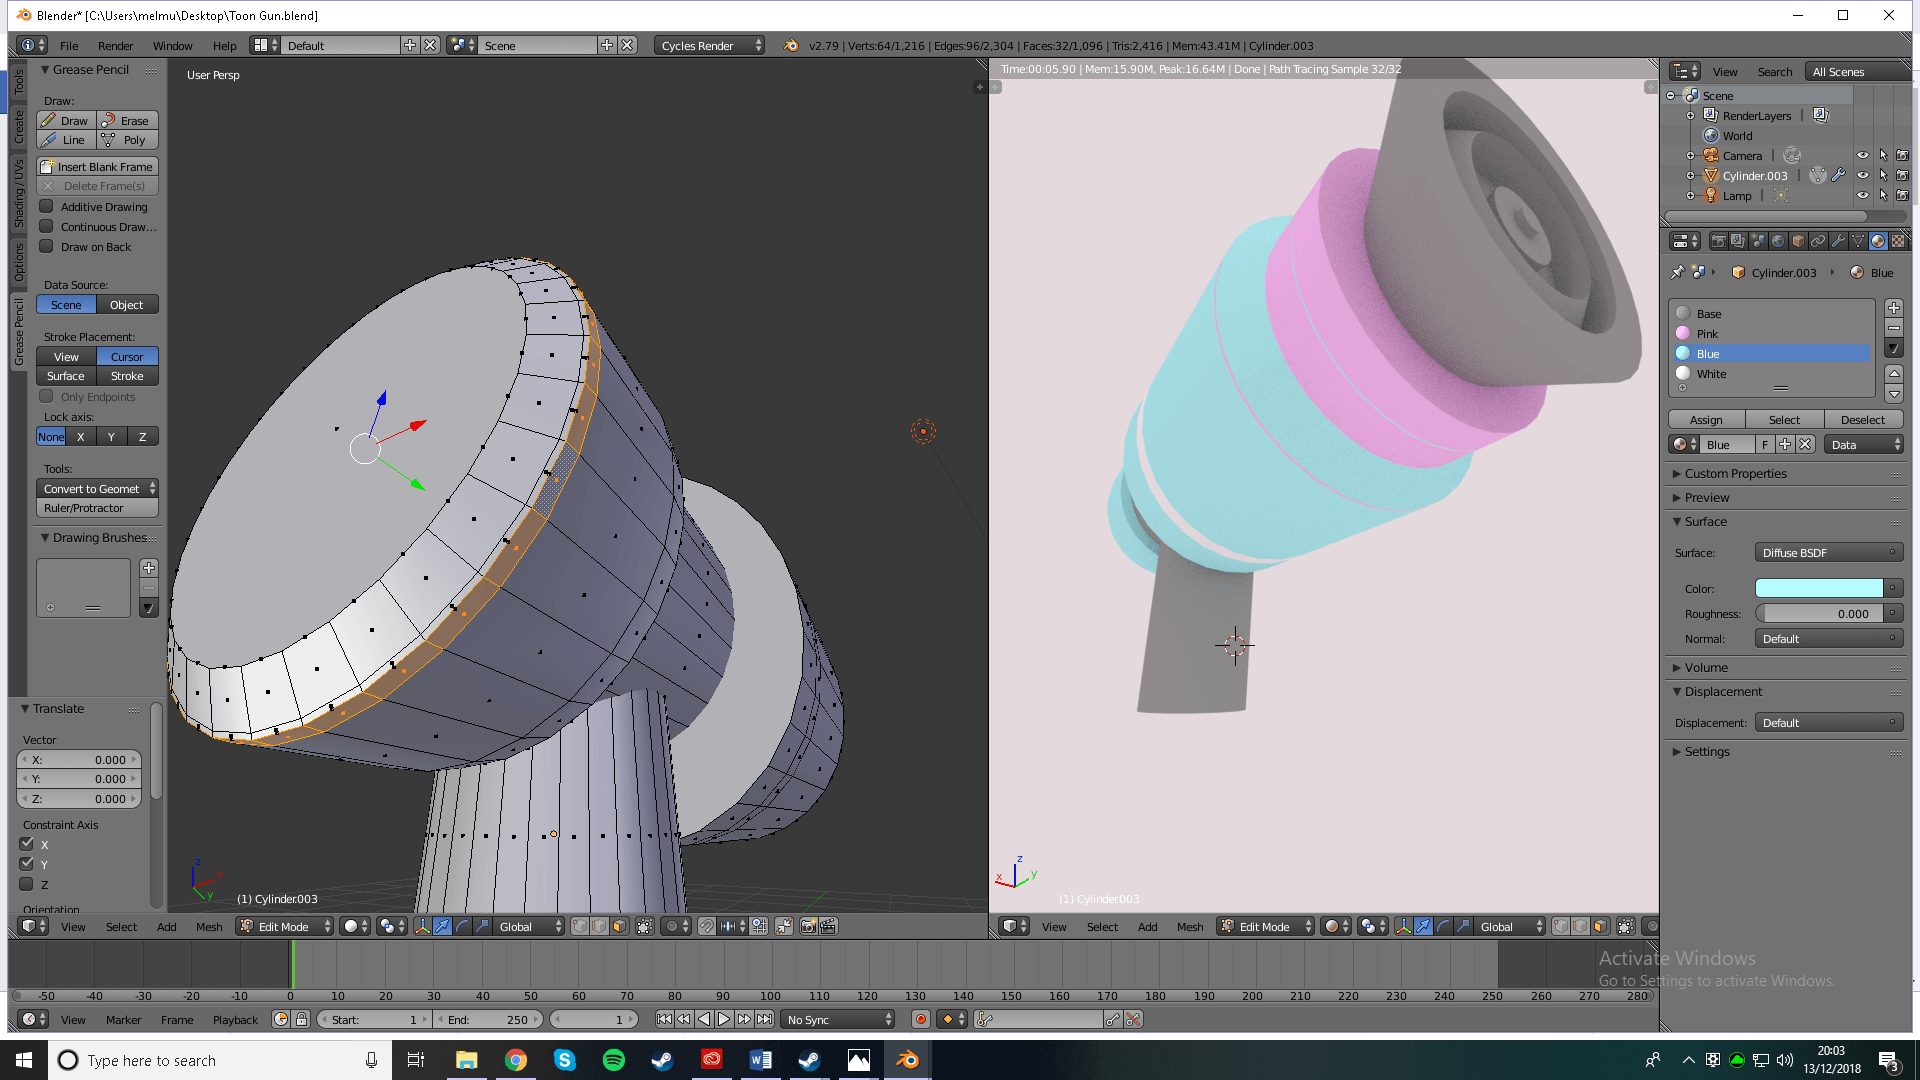
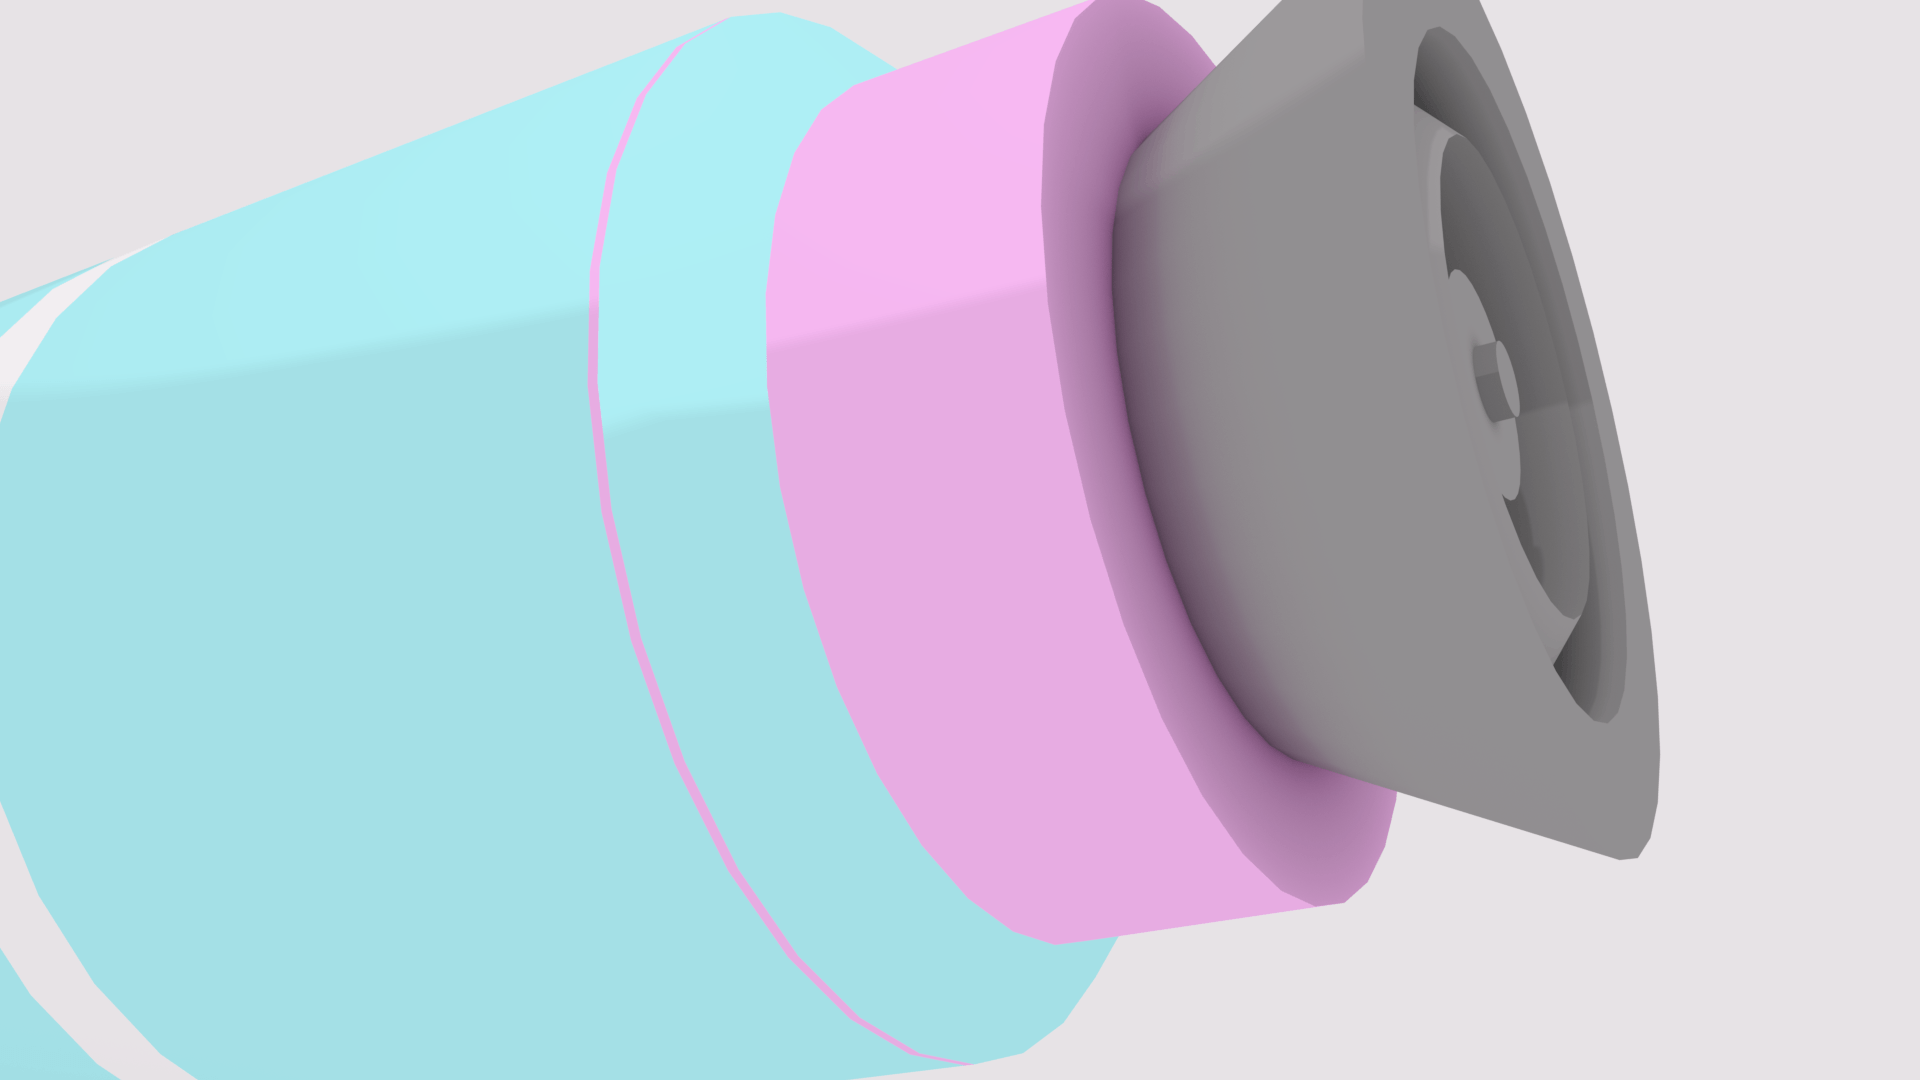
So I was trying different designs and adding different materials

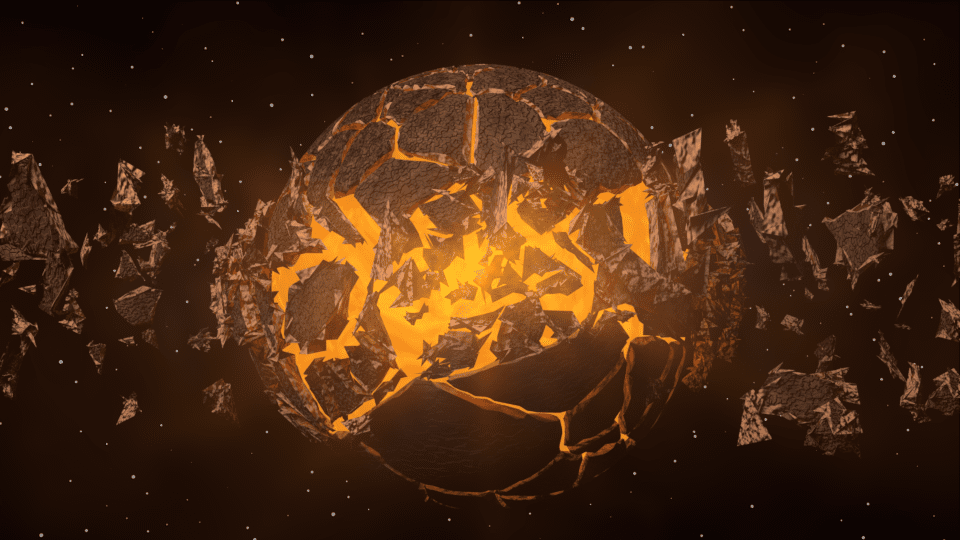
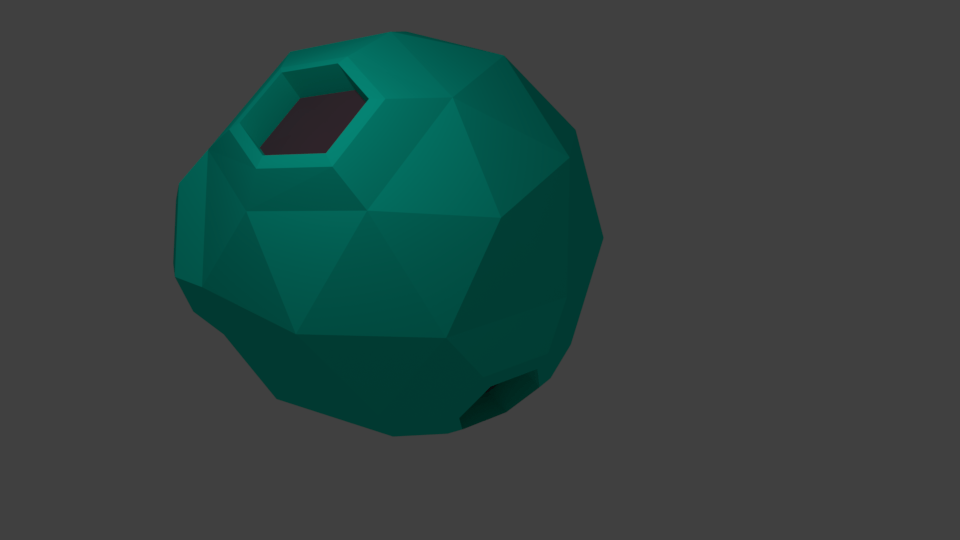
So my first run through I got this:

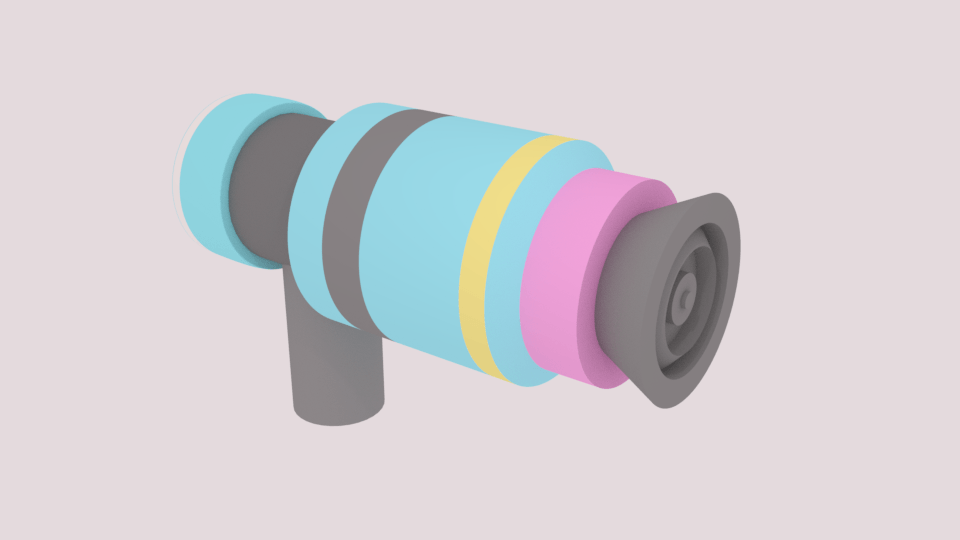
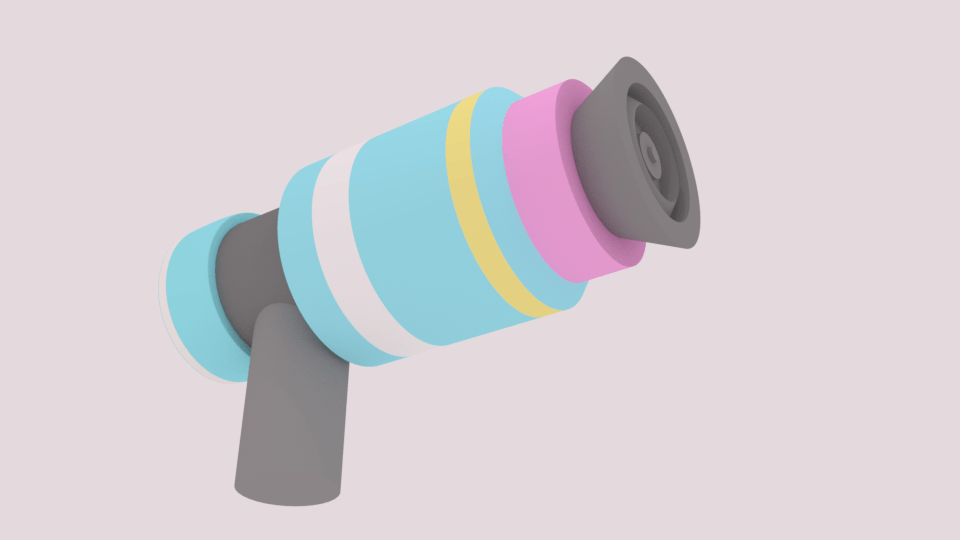
I did like the colours as it fits the style and target audience i’m now going for.

However, i’m still yet to see what it looks like when I add the toon shader material on top and fix the lighting.

The shape could improve, but I thought it was an ok start.
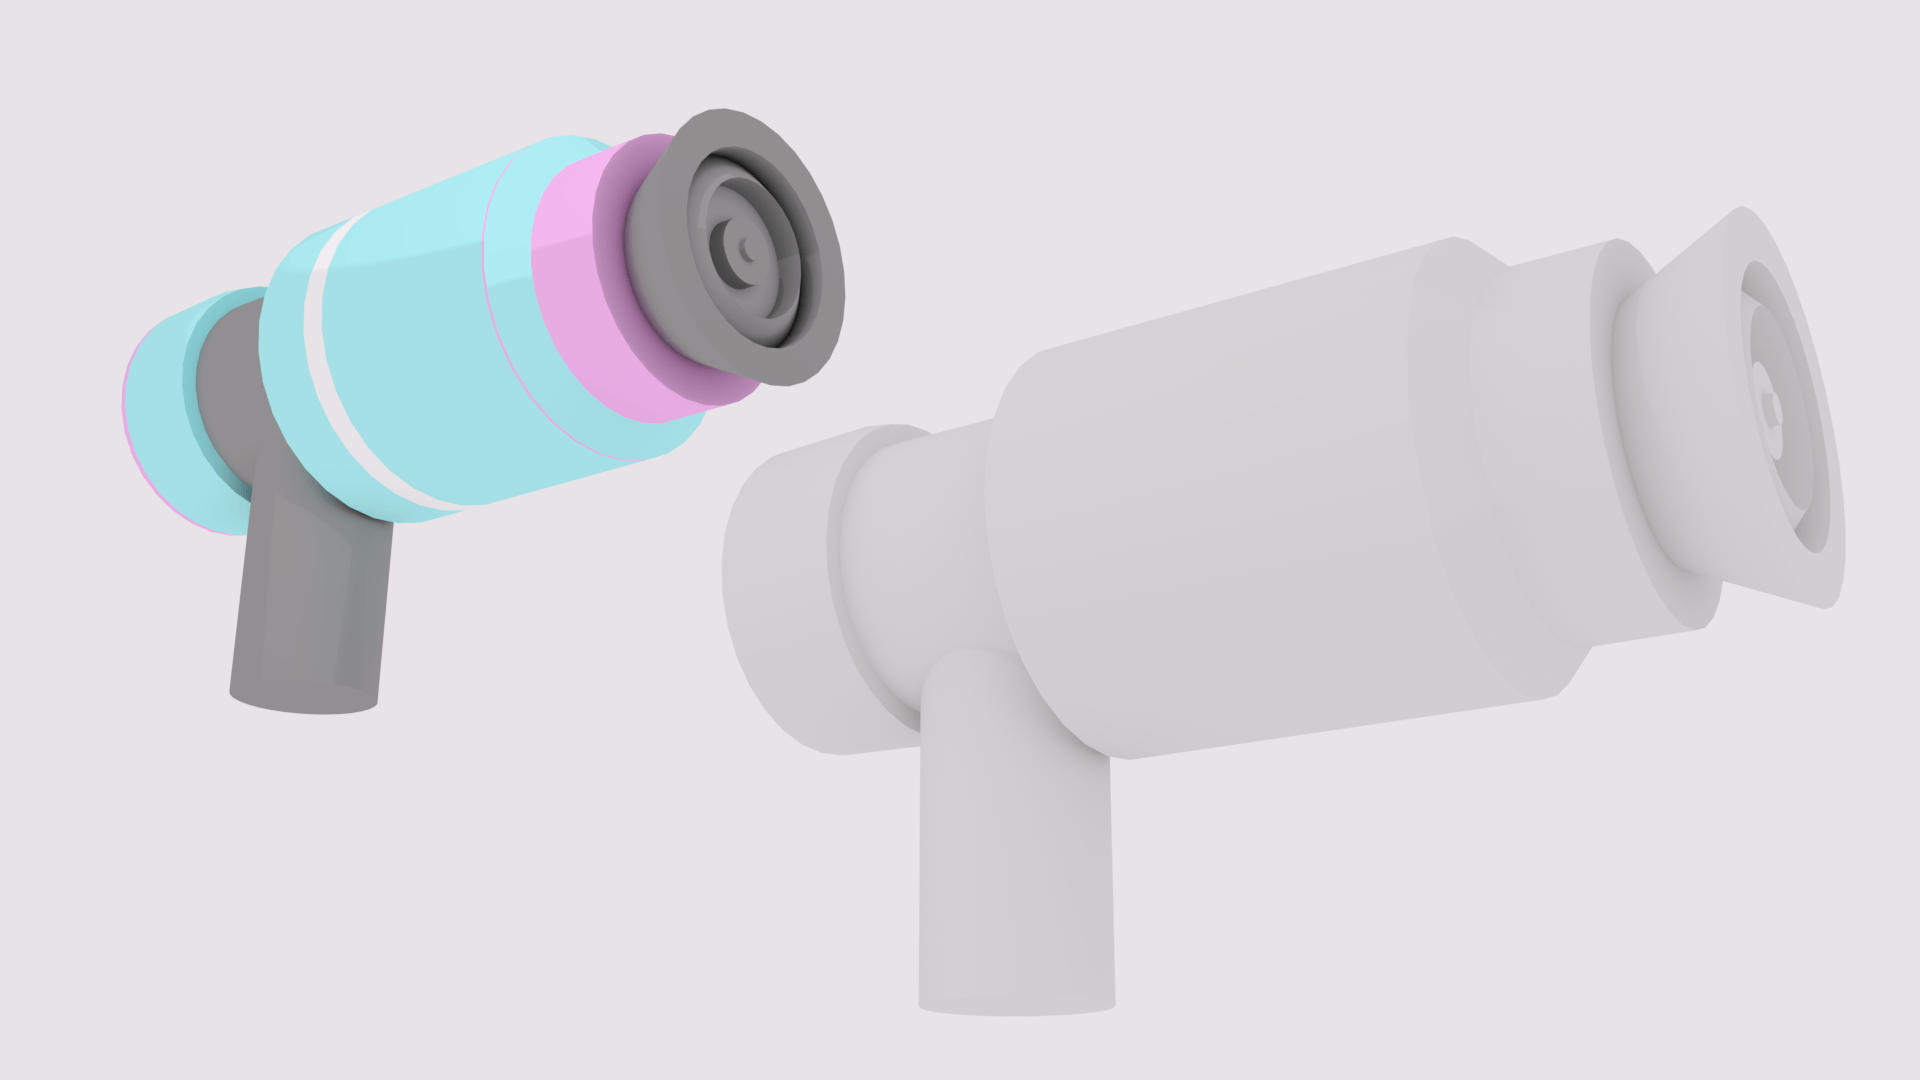
Toon Shade

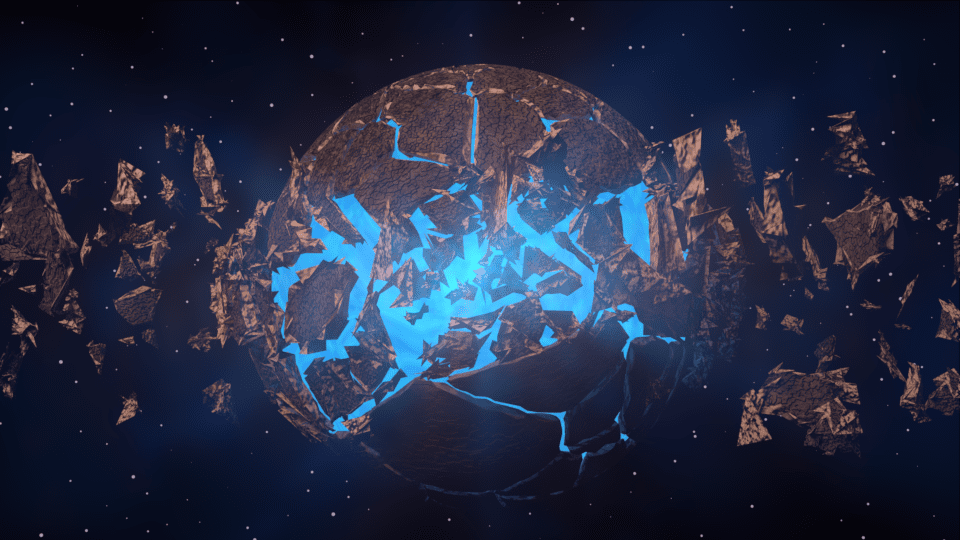
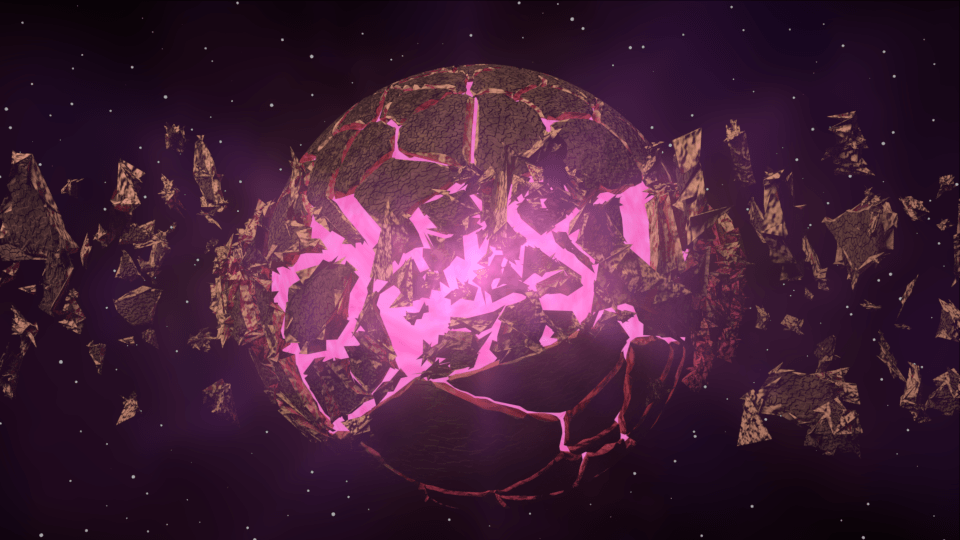
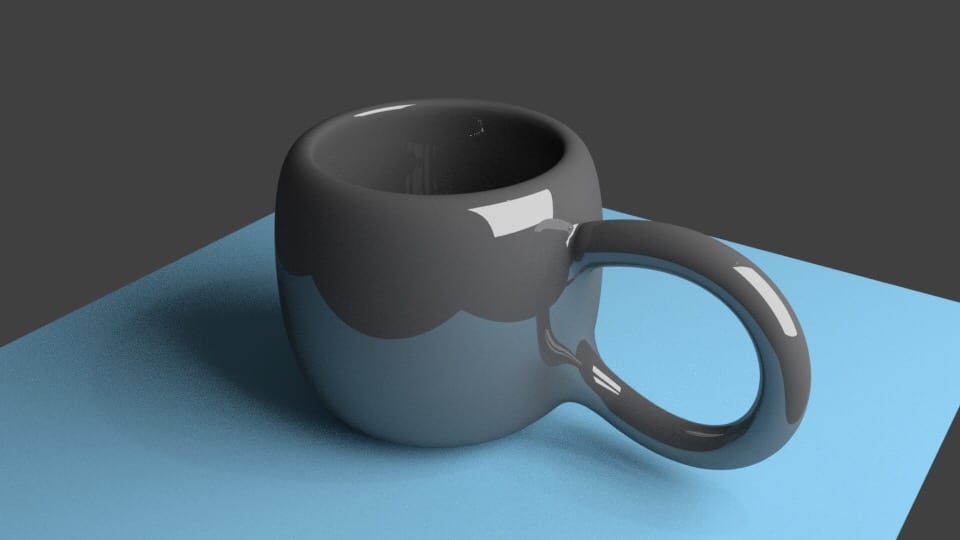
After adding toon shader and some lighting these are my final renders:

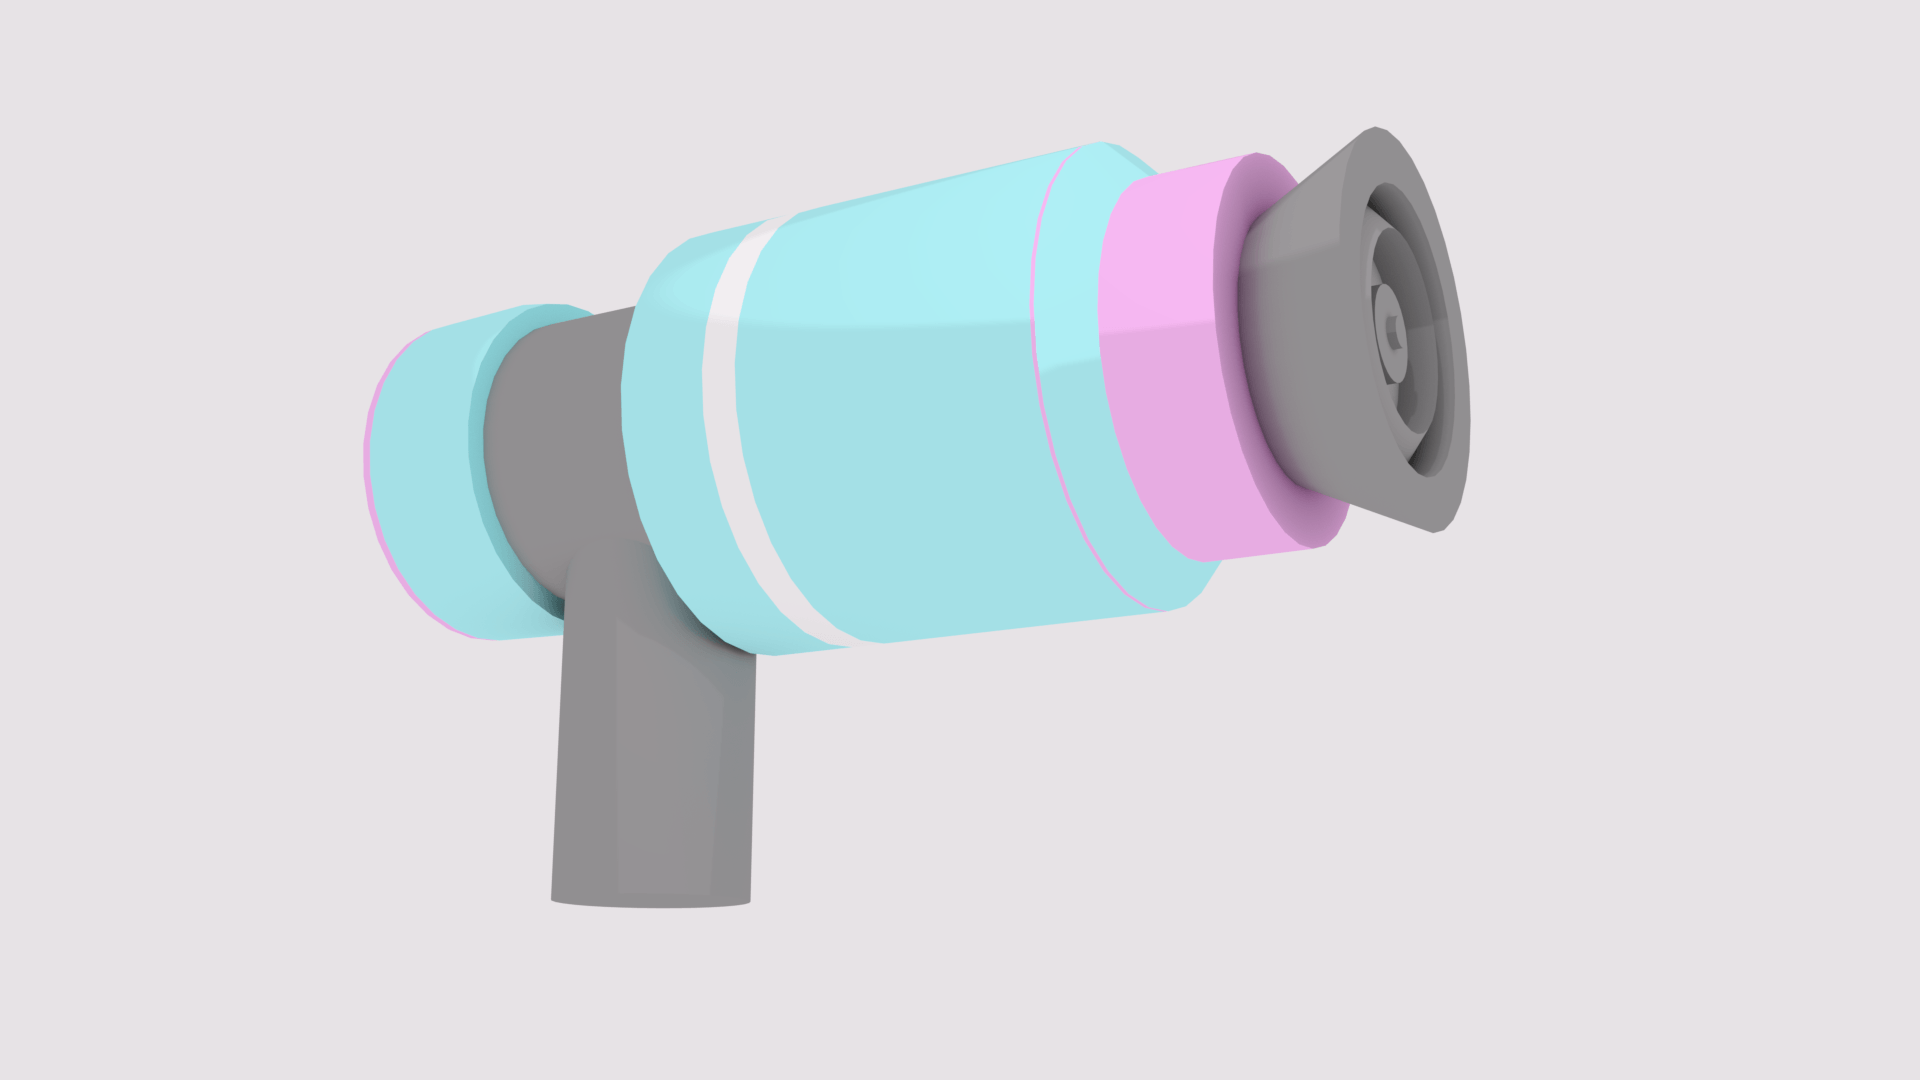
They look a bit better i’m really liking toon shader on blender.
The style is starting to look a bit more consistent I think on the whole what would improve all of this is if I were to add dark outlines (Sort of similar to Borderlands)

https://skfb.ly/6EqLz

I’m going to be honest, I couldn’t get my head around uv mapping and unwrapping despite the number of tutorials i’ve watched/read. Somehow, It worked on my mini robot. Not on my barrel and gun. I created a map with the materials and unwrapped my model, made sure all the correct unwrapped parts were on the correct material and set it as a texture but I must have been missing something. Tried both unwrapping and smart UV project.

So what are the materials/textures on the models on sketchfab? On both the gun and barrel I just put the materials on sketchfab though the 3D settings. This doesn’t mean the model would work on game engines with the correct textures i’m aware, but i’m determined to make it work next semester on unity or unreal. (Sorry) 🙁

Textures and moving further in Blender

I continued watching different tutorials on the basics in Blender. There’s still loads I need to learn in the modelling parts such as sculpting and just getting better at modifying shapes.

Yet I thought I should focus on developing a logo first before going into creating the characters in Blender. Creating a planet seems like it shouldn’t be too hard as it’s just a circle. I thought i’d use this opportunity to learn about different materials and textures, and working with different layers in Blender.

I followed this tutorial on youtube
(was really helpful for me to learn new things in blender)

My first attempt:

The parts breaking out did suddenly turn spikey after turning the smoothness up however, I think a lot of people have been having that problem and instead of trying to fix it I thought is looks alright and more dramatic.

It started from a sphere, I learnt how to raise the resolution and smoothness of it to then learn about cell fracturing. This created cracks that I could modify to the planet which is really useful for the logo.

A lot of textures such as adding noise was involved and I got a lot more confident using more materials and editing different layers.

However Take Two isn’t going for the realistic look so I tried different colours.

These are the colours i’m hoping to use and I honestly do like the final piece (of course full credit to the tutorial). Now that I know I can change up the colours and create a backdrop etc, i’m going to try creating a planet like this but using toon shading instead of detailed textures and see how that looks. I might be able to use it as a poster for the game or modify it for the logo.

I could also animate it panning around the planet and make it seem as tho the planet is forming together (since in ‘Take Two’ you do form a planet at the start)

Poly Planets

As I wanted to experiment more with just modifying shapes in Blender I thought I’d try creating some poly planets. It could help with my logo design as i’m aiming for it to be a planet.

My first attempt was ok, I got to learn more about shaping things and colouring different sections of the model (still getting used to the material parts of blender).

I tried to make it have a little face as if it was a crack on the planet but instead I made it look a little creepy. I personally think it looks really bad I’ve added emission in attempt to make it look brighter and mountains etc but the whole composition and style is a bit off. However, it is poly, and I have developed more confidence with modifying the shape.

(I didn’t add emission oops). In this second planet I just wanted to make it more poly and make the dips on the planet have a bit more detail by inverting it more and extracting it down. (Like I did to create the inside of the cup).

Lastly, I decided that poly (as lovely as a style it is in games) isn’t really the toony look i’m going for. Yet I feel as though this was useful as I was just aiming to develop more confidence in modifying shapes which I think I have done. (They just look really bad and i’m fine with it since i’m still only starting).

First look at Blender

I’ve only ever touched on blender once before and never really looked back on it again.

I’ve decided to get into 3D modelling for the game so wanted to get to grips with the free software Blender.

I watched a series of different tutorials tips, and tricks to learn the basic keys and functions.

My first attempt of making a cup:

It needed a little more rendering but other than the completely out of proportioned and poorly shaped handle, I thought it wasn’t too bad. I learnt all the basics of how to modify a shape and merge shapes together as well as adding shiny materials and emission.

I thought I could go back to it and just fix the handle, I also wanted to change the colour to make it sit nicely with the blue before.

I’m going to start with the brightside… On the brightside, the handle looks a lot better! I’ve gotten used to the pen tool and how to connect the handle to the cup.

However, just changing the material colour to pink has for some reason made it into a glass cup. (However, we can just pretend that, that was intentional).


Overall, a cup has no use in ‘Take Two’ but has taught me all the basics I needed in Blender. From here i’m going to try experiment more with modifying shapes before I start playing with textures.